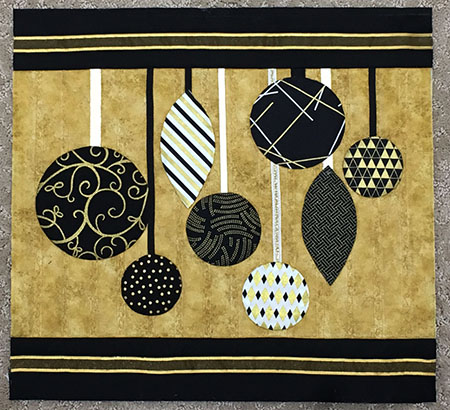
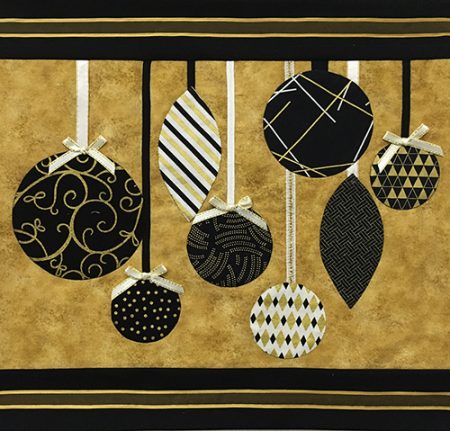
I have been working on some wall quilt projects. I started playing with a knife edge finish and really like the results. This is great for projects that don’t get a lot of wear. As I was putting the knife edge finish on this little class sample, “Ornaments”, I decided to take some photos along the way.
(You can also find a printable version of these instructions on the website by clicking on the “Free Tutorials” Tab at the top of the page.)
Start by squaring your project so the backing, batting and top are all trimmed to the same size. I use my Karen Kay Buckley’s Perfect Adjustable Square(TM). I build the acrylic pieces to the finished size plus seam allowance so trimming is accurate and a breeze. And, don’t let the name fool you, it can be built to rectangular sizes, too.
All layers (batting, backing and top) trimmed around the outside.
- Cut two strips 2″ wide and a little longer than the top and bottom measurement of your quilt. Press 1/4″ seam allowance along one side of each strip. Press this to the back of the fabric.
TIP: For an accurate 1/4″, mark a line 1/2″ from the raw edge and fold the raw edge to the 1/2″ line and press.
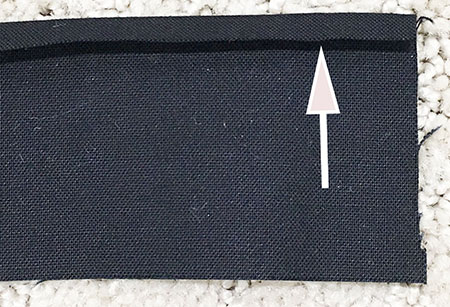
2″ wide strip with 1/4″ seam pressed to the back.
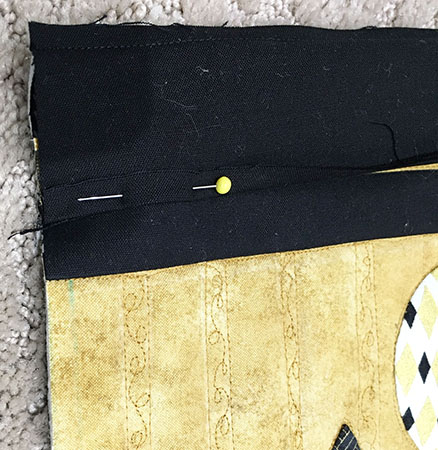
2. Place these strips right sides together along the raw edge, pin and sew a 1/4″ seam allowance. The pressed edge, from the step above, will be in towards the quilt.

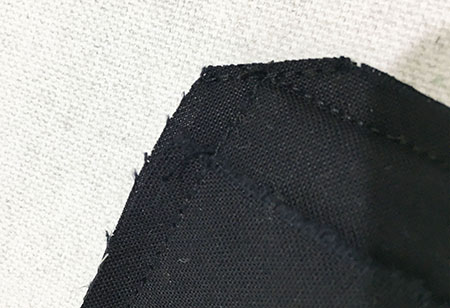
3. First, press these strips, using steam. Press them flat and trip any excess along the outside edges.
Excess trimmed after pressing
4. For the second pressing step, pull the strip towards the back and steam iron so the strip is not visible on the right side of your project. Ideally, I like the seam right on the edge or just slightly towards the back.
Strip Steam pressed over back.
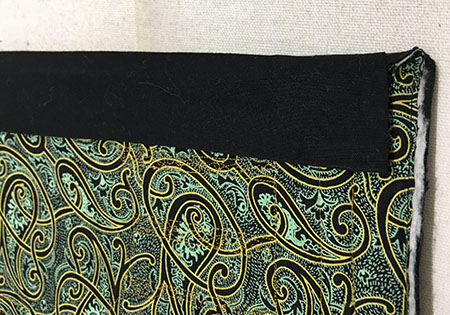
5. This might sound crazy, but, your next step is to fold those strips back to where you started, on the right side of the quilt. Pin them in place so they are nice and flat. (No pressing at this step.)
Strip pulled onto the front and pinned.
Make sure the ends are pinned flat and even with the top.
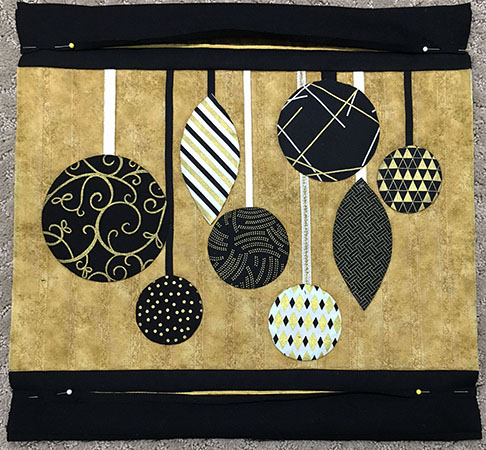
View from the front with both strips pinned.
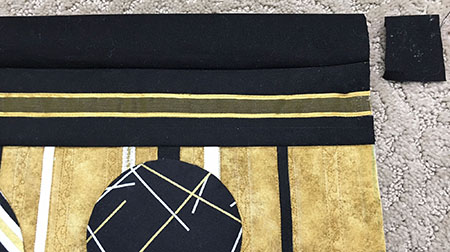
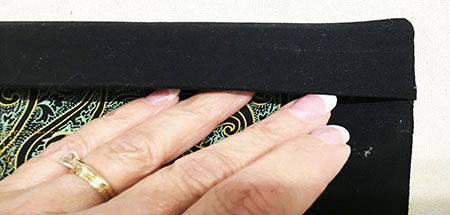
6. Now, we are ready for the side strips. Cut two strips 2″ wide by about 1″ shorter than the side. (This might sound odd but…keep reading.) Press 1/4″ seam along one side, following the previous directions in step #1 above. Center and pin these strips, even with the raw edge of your project. They will be shorter than your finished project.
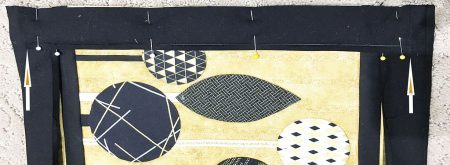
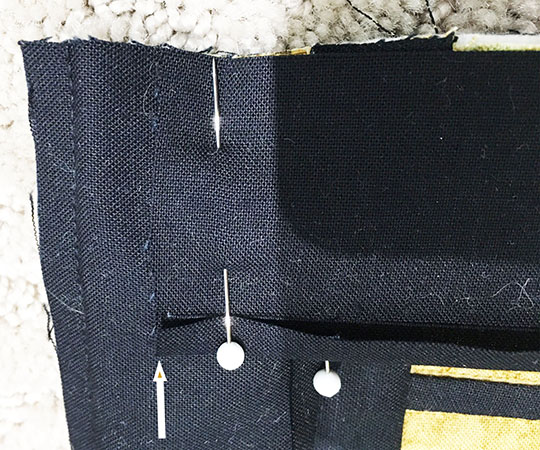
Arrows indicate where strips end.
A close-up of this step.
7. Sew these strips all the way to the raw edge. Then, sew across the corner and trim the corner.
8. Press these strips the same as in steps #3 and #4 above. First, press flat and then fold and steam press over the edge.
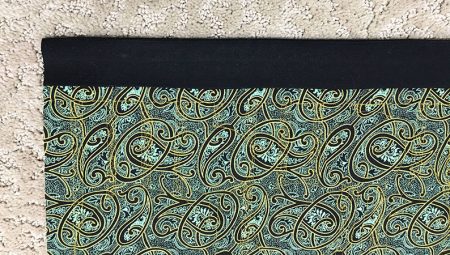
View from the back with side strips steamed in place.
View from the side.
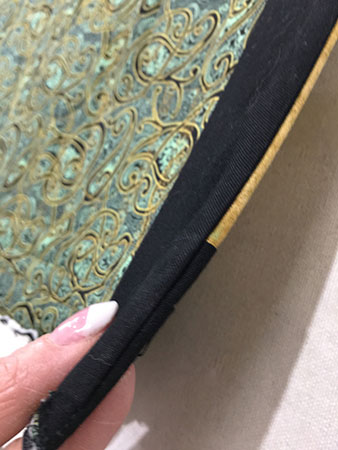
Pin the two side strips and applique along your 1/4″ pressed seam.
9. After the side strips are appliqued, fold the top and bottom strips to the back. I used a tool called a “point turner” to push the corners out. I’m sure you can find something in your sewing box for this purpose. After the points are pushed out, pin and applique the folded edge. Give it a good steam press around the outside after the applique is finished.
And, here it is pressed and ready to hang.
I hope you enjoy the process as much as I do!
Copyright 2016 Karen Kay Buckley
BOOK REVIEW
 I just finished reading Jodi Picoult’s new book called “Small Great Things”. I loved it. It held my interest from beginning to end. I have read every one of Jodi Picoult’s books and I was happy this one did not let me down. (Laura, thanks for reminding me to read this.)
The main character in the book, Ruth Jefferson, is a labor and delivery nurse. She’s been employed at the same hospital in Connecticut for 20 years. Ruth loves her job. During a shift, she’s checking on a newborn while the parents are watching. Ruth senses something is wrong because of the way the parents are looking at her. She soon finds out they have requested she not touch their child….they are white supremacists and Ruth is a women of color. The story takes some interesting turns. This is a must read.
Until next week……